The creation of an En Suite shower room
03rd November 2014
Photos 1-3: As the nights were drawing in, and the weather getting cooler, we noticed that the solar tube was letting a lot of heat out and cold air in, so it became a priority to attach the cover. This wasn't straight forward, so much so that the builder refused to do it, but after a little jiggery-pokery, enough room was created for the attachments. The foil tubing was stretched tight, and cut down to the right size, before the diffuser cover was fitted in place. By night, you can see a little street lamp colouring through the tube, but in daylight it is really light. The diffuser makes a huge difference, and when the sun is round the back of the house where the inlet for the tube is, the en suite is actually lighter than the bedroom that faces the front.

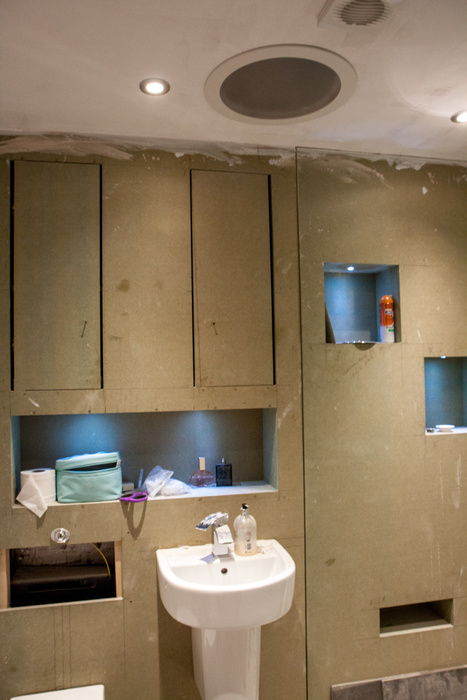
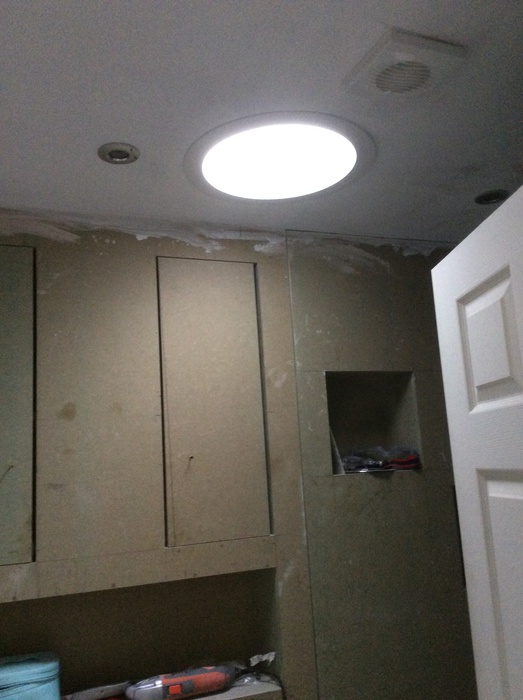
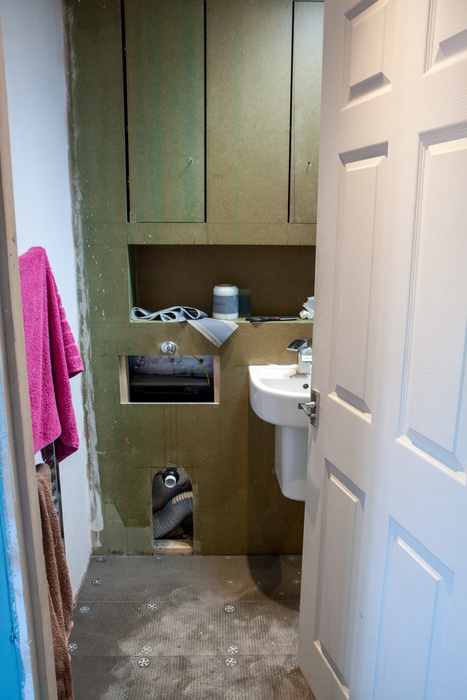
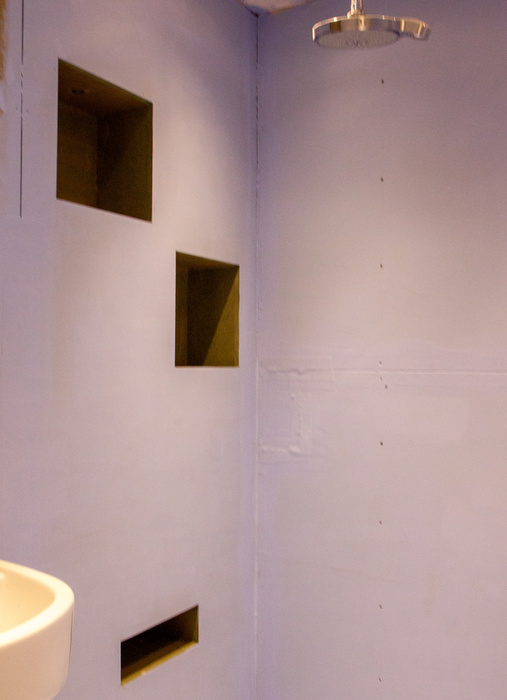
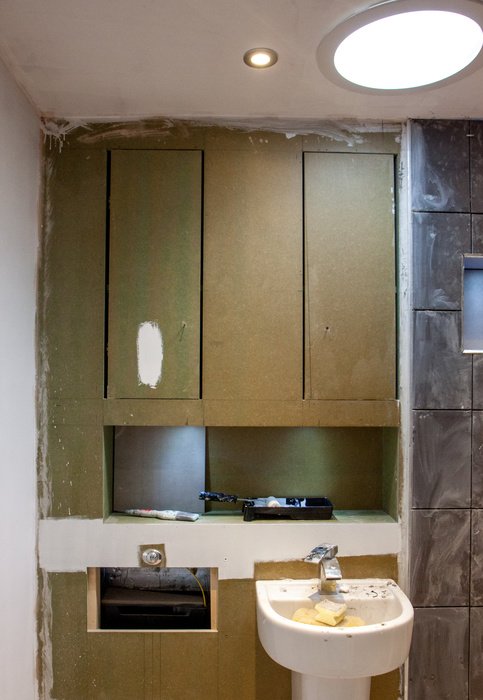
Photo 4: To begin the tiling process, the en suite needed to be tanked. As part of this process, the toilet was removed and the floor re-laid. We had been provided with excess tiling insulation boards, and the ones that had previously been laid down by the builder were getting a bit tatty. As we had new ones, that we weren't going to use anywhere else, it made sense to lay them.
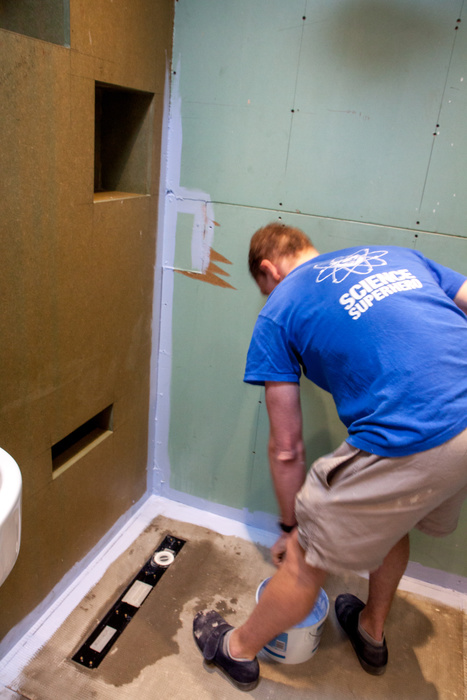
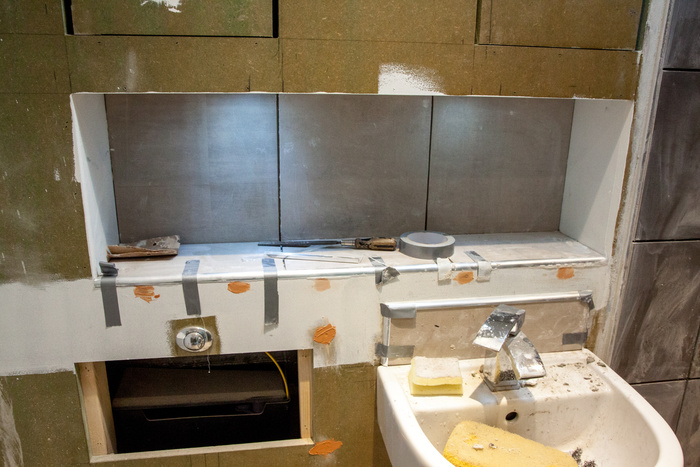
Photos 5-6: The tanking process then began with taping the edges and joins, before coating all walls and floor that will be tiled. After 3 coats of tanking solution, the surfaces were ready for the tiles.
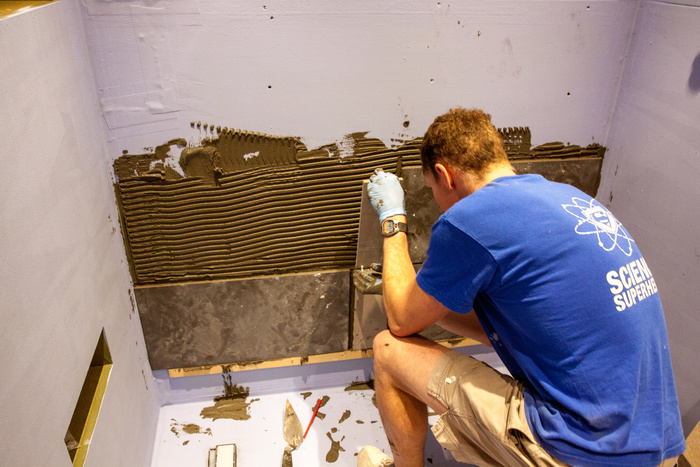
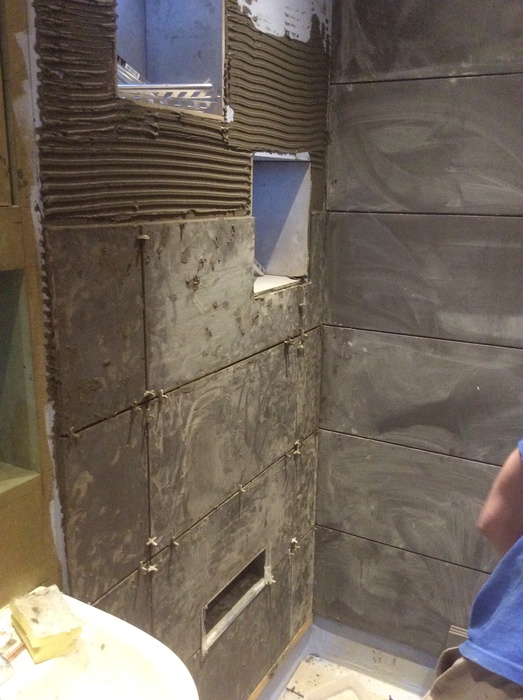
Photos 7-9: Tiling then commenced with the far wall, since this wall had no "tricky bits", i.e. the shower valve and shelving nooks. All tiling plans had been previously drawn up in Visio, which meant that the tiles could be cut to size before starting. It's all in the planning.
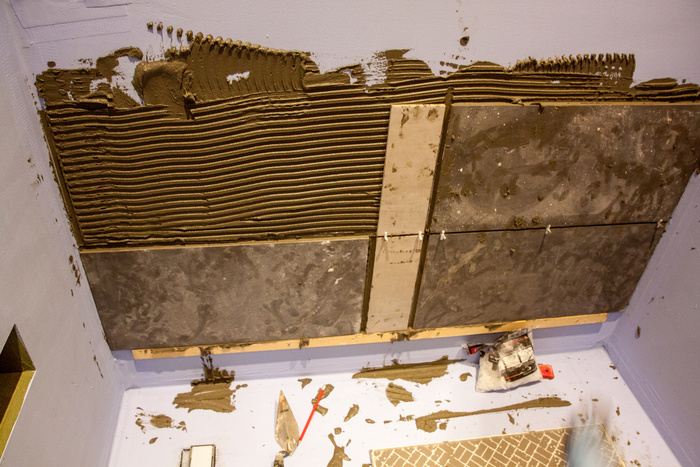
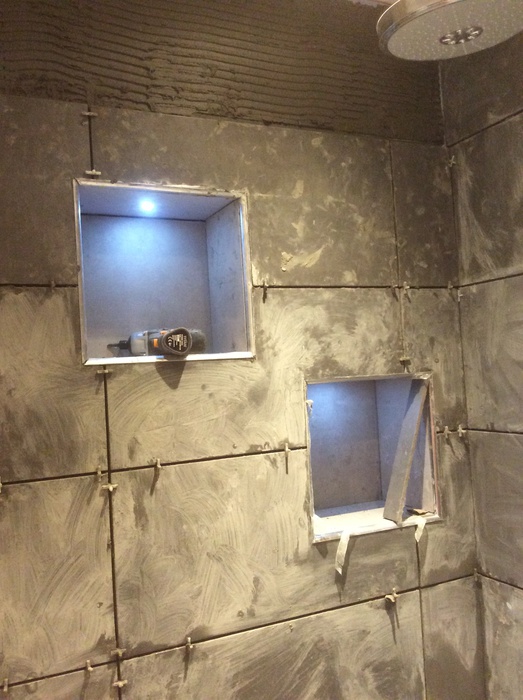
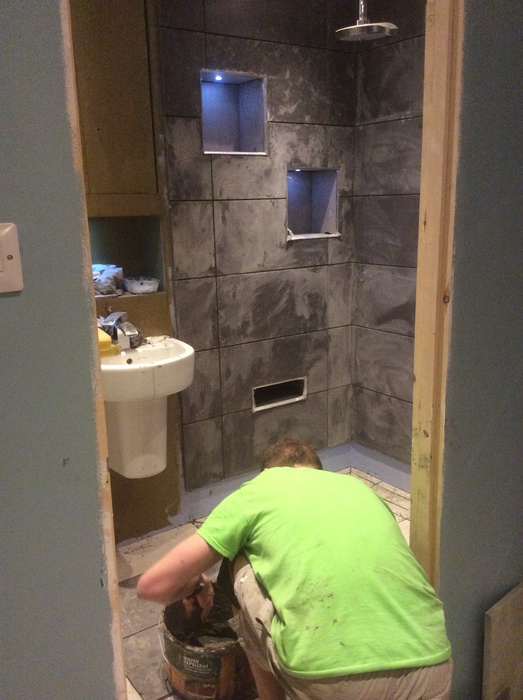
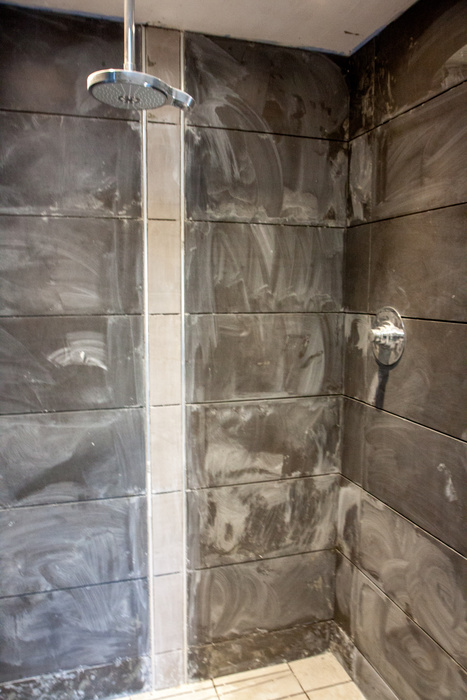
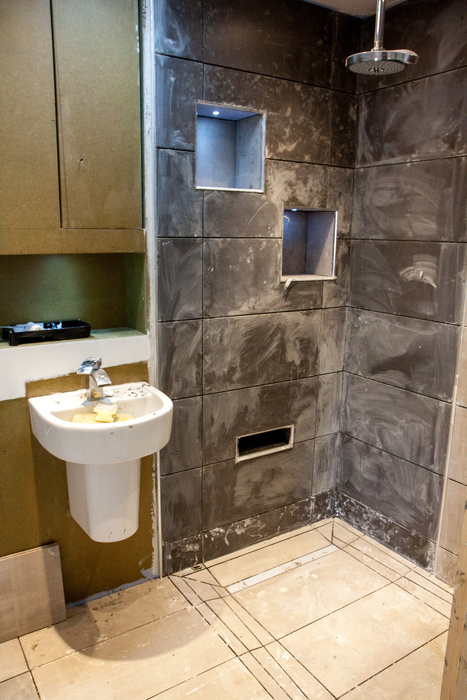
Photos 10-11: The wall with the shower valve was next to be tiled, followed finally with the nook wall. As before, all tiles were previously cut to size according to the Visio plans, although with this wall additional minor adjustments had to be made to ensure the tiles fitted perfectly around the nooks. We decided to line the nooks with the pale beige tiles that will be going on the floor, to add a bit of a contrast. One of the complicated parts of this wall, was cutting the silver strips to line the edges of the three nooks. After a few test cuts, we got the hang of it, and they fitted pretty well.
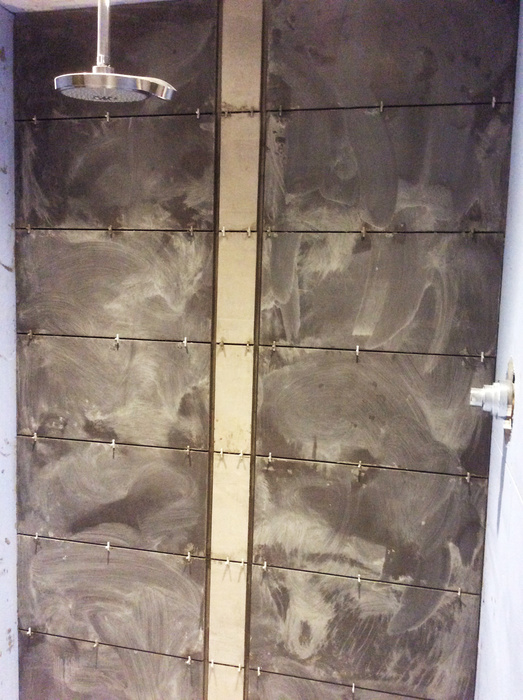
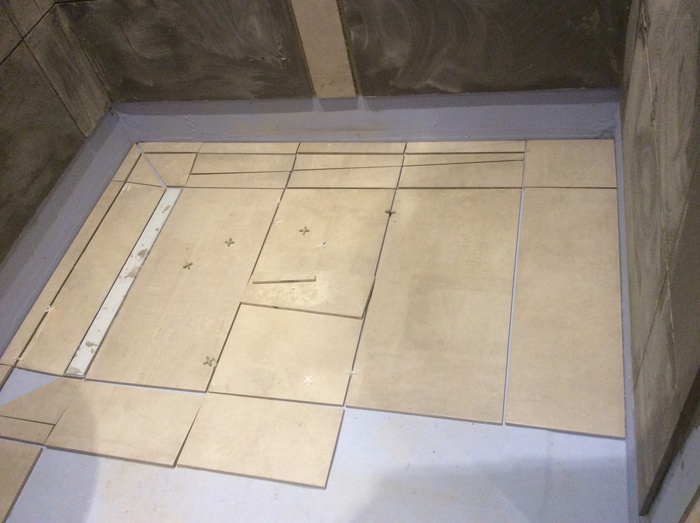
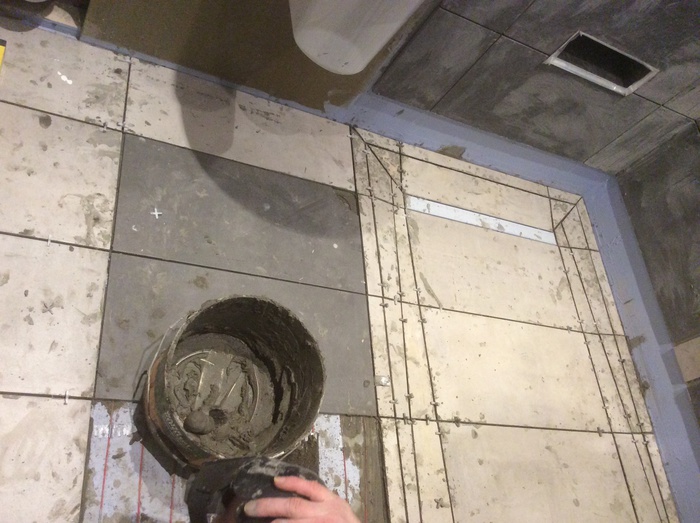
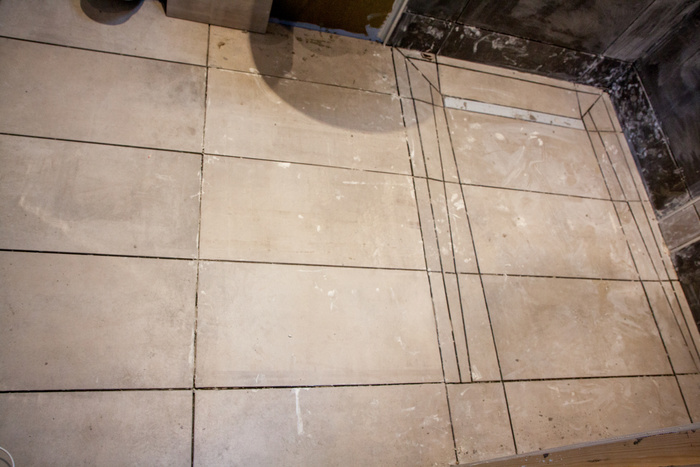
Photos 12-19: After the walls were completed, the floor was next. The "envelope" for the fall of the wet room shower tray was complicated, and so a day was spent cutting the tiles according to the plan, to make sure they fitted and created slopes in the right directions. Once finalised, the tiles were taken up and the red under floor heating wiring was taped in place. The tiles were then repositioned and stuck into place. As we had used the floor tiles in the top nooks and the stripe down the wall, we ran short of tiles for the floor, so had to wait another day whilst we got another box in. Finally, the tiles at the bottom of the walls were fixed in place, completing the tiling.

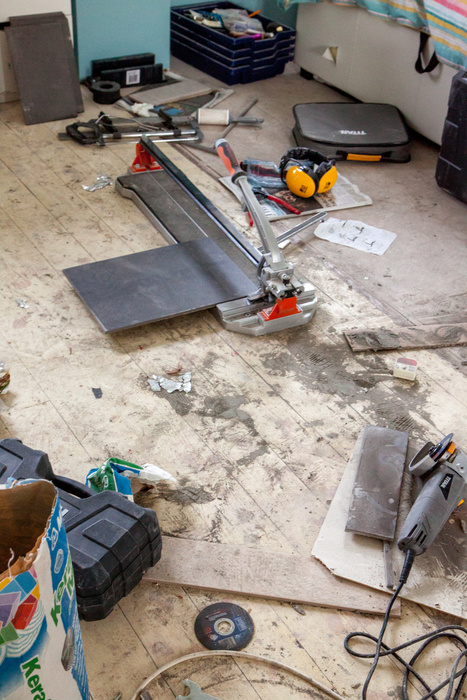
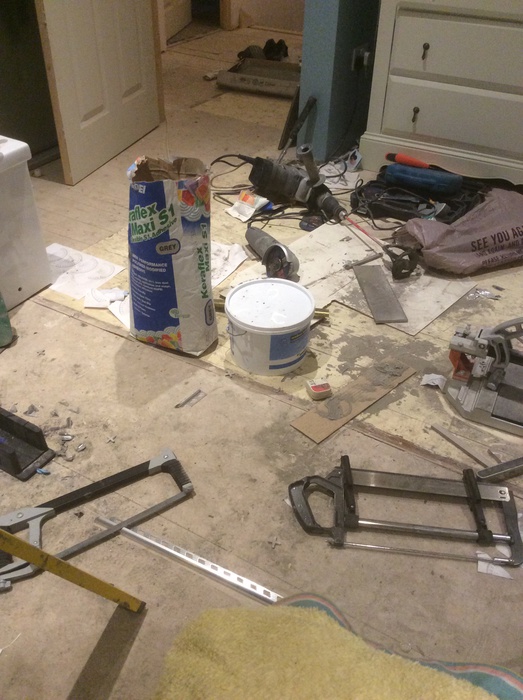
Photos 20-21: The floor in the bedroom became the tile prep area - it made for dangerous sleep walking!
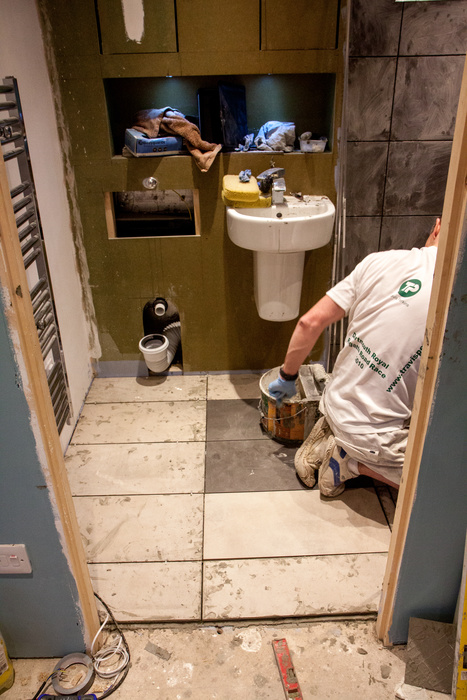
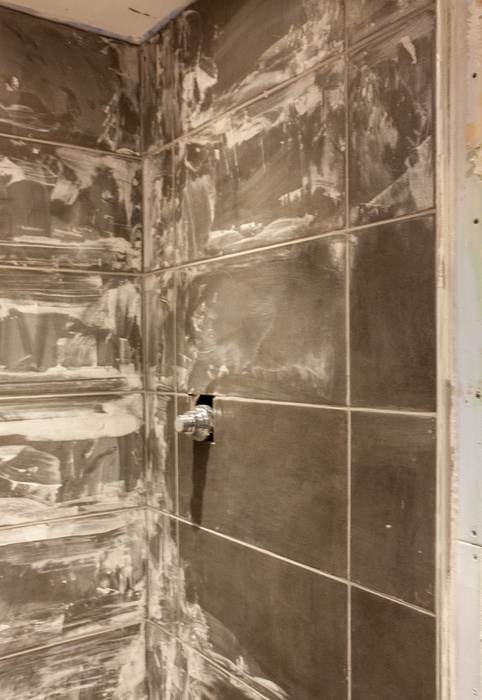
Photos 22-24: As the tiling was complete, the next job was grouting. A day was spent grouting. In addition, the tiles for the sink splash back and nook above the sink were cut and stuck in place, with yet more silver tile edging being required.
Photos 25-28: Once the grout was dry, the shower screen could be erected. This involved a few screws in the wall - the holes for which were very hard to drill, with a new diamond tipped drill bit (after the previous one melted doing the same job in the main bathroom). The silver bracket was screwed into the tiled wall, and the huge sheet of glass was fitted into place.
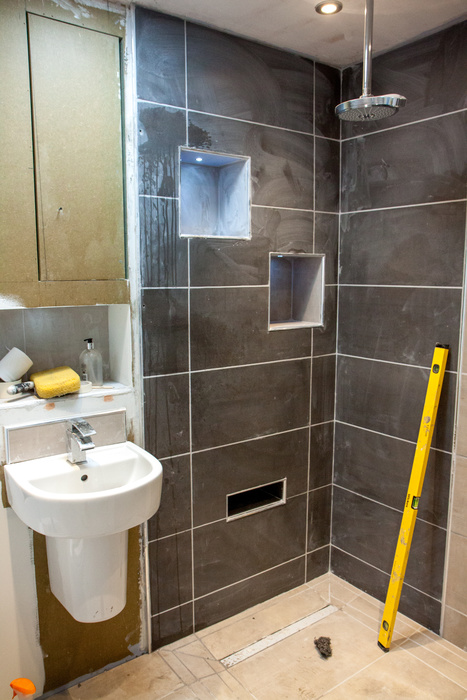
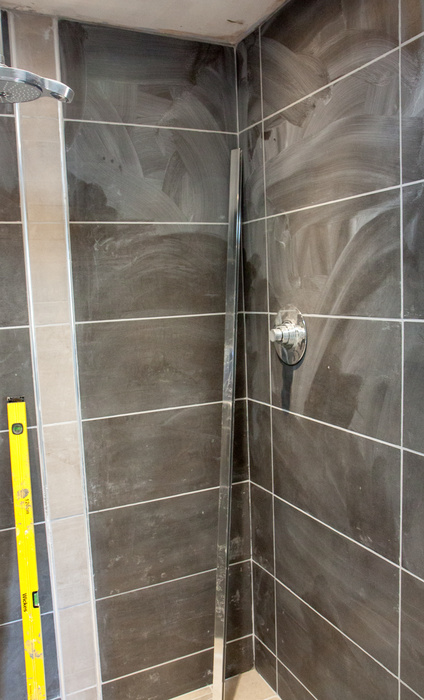
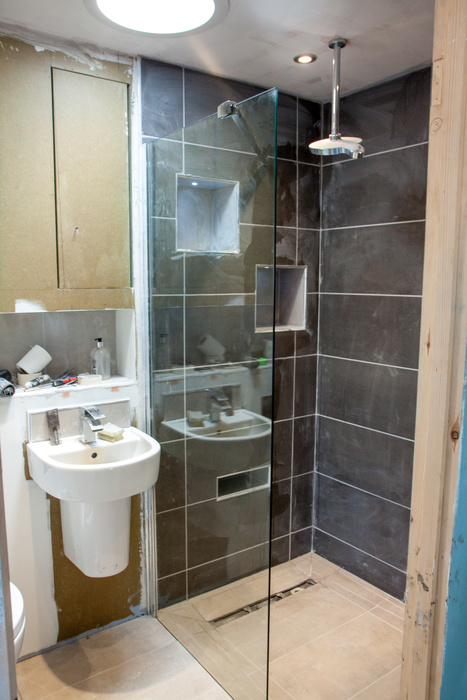
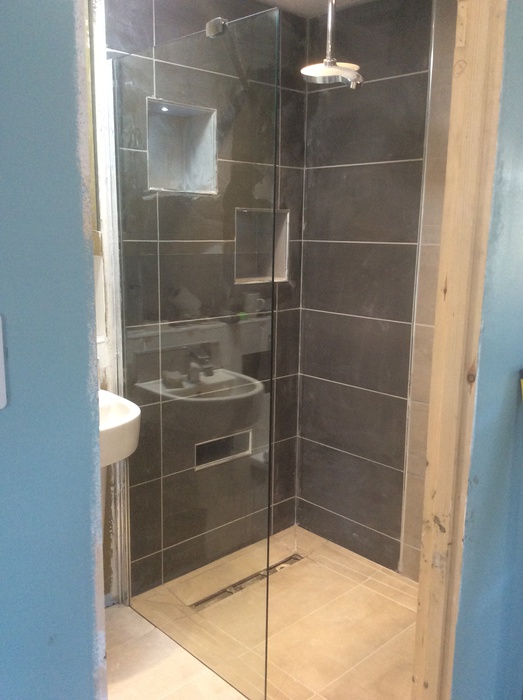
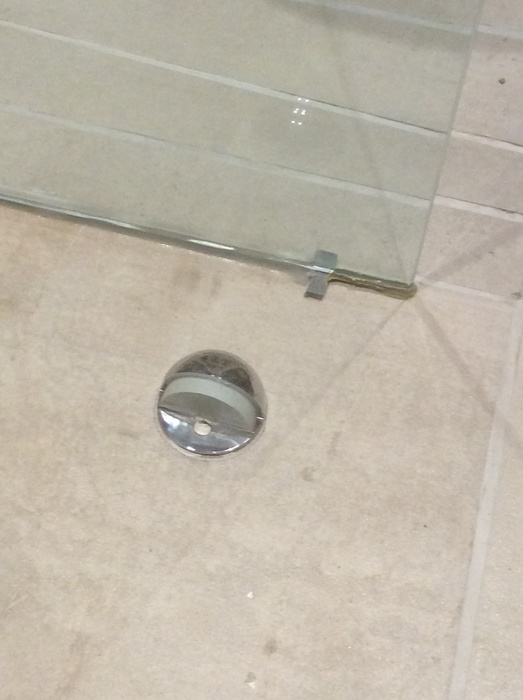
Photo 29: To stop the door to the en suite swinging open and smashing into the shower screen, we glued a door stop to the tile. Although designed to be screwed into the floor, we couldn't do this due to the risk of damaging the under floor heating.
Photos 30-31: The final job in the en suite is painting the left hand wall, ceiling and cupboard - before buying the mirrors in to stick on the front of the cupboard. The paint being used is off-white (Dulux Timeless), so as to make it different from the other bathroom, and less clinical. The final photo shows the positioning of the thermostat for the under floor heating, on the wall outside the en suite.

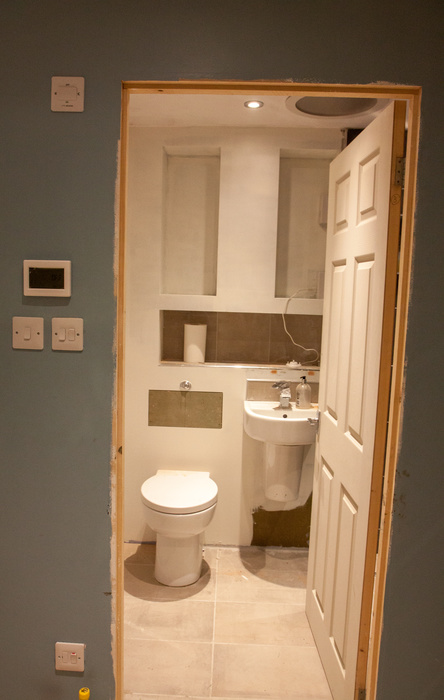
Photo 4: To begin the tiling process, the en suite needed to be tanked. As part of this process, the toilet was removed and the floor re-laid. We had been provided with excess tiling insulation boards, and the ones that had previously been laid down by the builder were getting a bit tatty. As we had new ones, that we weren't going to use anywhere else, it made sense to lay them.
Photos 5-6: The tanking process then began with taping the edges and joins, before coating all walls and floor that will be tiled. After 3 coats of tanking solution, the surfaces were ready for the tiles.
Photos 7-9: Tiling then commenced with the far wall, since this wall had no "tricky bits", i.e. the shower valve and shelving nooks. All tiling plans had been previously drawn up in Visio, which meant that the tiles could be cut to size before starting. It's all in the planning.
Photos 10-11: The wall with the shower valve was next to be tiled, followed finally with the nook wall. As before, all tiles were previously cut to size according to the Visio plans, although with this wall additional minor adjustments had to be made to ensure the tiles fitted perfectly around the nooks. We decided to line the nooks with the pale beige tiles that will be going on the floor, to add a bit of a contrast. One of the complicated parts of this wall, was cutting the silver strips to line the edges of the three nooks. After a few test cuts, we got the hang of it, and they fitted pretty well.
Photos 12-19: After the walls were completed, the floor was next. The "envelope" for the fall of the wet room shower tray was complicated, and so a day was spent cutting the tiles according to the plan, to make sure they fitted and created slopes in the right directions. Once finalised, the tiles were taken up and the red under floor heating wiring was taped in place. The tiles were then repositioned and stuck into place. As we had used the floor tiles in the top nooks and the stripe down the wall, we ran short of tiles for the floor, so had to wait another day whilst we got another box in. Finally, the tiles at the bottom of the walls were fixed in place, completing the tiling.
Photos 20-21: The floor in the bedroom became the tile prep area - it made for dangerous sleep walking!
Photos 22-24: As the tiling was complete, the next job was grouting. A day was spent grouting. In addition, the tiles for the sink splash back and nook above the sink were cut and stuck in place, with yet more silver tile edging being required.
Photos 25-28: Once the grout was dry, the shower screen could be erected. This involved a few screws in the wall - the holes for which were very hard to drill, with a new diamond tipped drill bit (after the previous one melted doing the same job in the main bathroom). The silver bracket was screwed into the tiled wall, and the huge sheet of glass was fitted into place.
Photo 29: To stop the door to the en suite swinging open and smashing into the shower screen, we glued a door stop to the tile. Although designed to be screwed into the floor, we couldn't do this due to the risk of damaging the under floor heating.
Photos 30-31: The final job in the en suite is painting the left hand wall, ceiling and cupboard - before buying the mirrors in to stick on the front of the cupboard. The paint being used is off-white (Dulux Timeless), so as to make it different from the other bathroom, and less clinical. The final photo shows the positioning of the thermostat for the under floor heating, on the wall outside the en suite.